Add Motor Carriage

Add M8 Bolts
Insert 2 x M8x90mm
bolts from the inside outward through the bearings on the long ends of the main
square piece.
Ensure that the bolt heads/ends are on the inside and the
threads are facing outside of the main square.
Insert motors into roller mounts
Next we insert the two 165rpm planetary motors into the roll
motor mounts.


NOTE: These mounts work as
eccentric spacers in that one side is wider than the other, as you turn the
unit with the motor inside, it can align tighten the belt connection.
The motor ends where the servo arm is pushes outwards, the
inside of the mount should hit the larger portion of the planetary motor body
and prevent it from going further. This
mount should be snug enough around the motor.
Add motor mounts to Motor Carriage
Insert the motor mount and motor into the motor carriage,
ensuring that the two motors ends are facing inwards of the assembly while the
84rpm motor which handles the head tilt is facing the opposite direction.
Screenshot of main drive motors installed in motor carriage,
unlick the photo, turn the motor mounts so that the open ends are facing
downwards (loose) so we can easily install the belt later on.

The head rotation servo does not have a roll motor mount and
inserts directly into the motor carriage.

The
completed assembly should look like this at this point. Need to now tighten down and lock in the
motors to the carriage

Tighten down Motor Carriage
Add m5 nuts to the slots located on the sides of the motor
carriage. These will allow the m5 bolts
to be tighten down holding the motors in place firmly.

Insert 3 x m5 nuts into each side of the motor carriage,
slowing pushing them in to align with their respective bolts… this is not easy.

Insert two m5x20mm bolts to tighten down the assembly over
the motors.
Adding the Rods and Axles
Cut
the 12mm rod to 19” long using a cutting wheel on a dremmel or rotary tool of
choice.

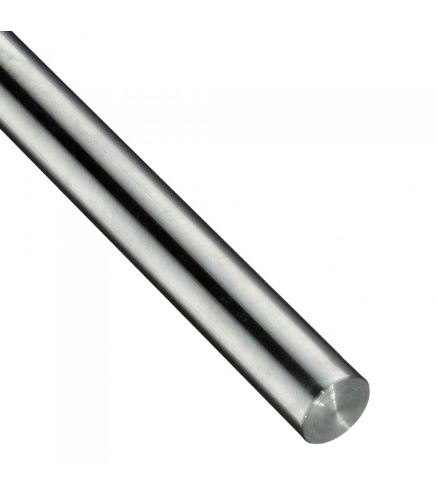
NOTE: Verify and measure the inner diameter of
the sphere frame and verify its length between sides. Ensure there is slack as getting it snug from
side to side is not needed.
Cut
the 8mm threaded rod which is used to connect to the magnet assembly to 8” in
length.

NOTE: this too can be more or less, we will
adjust its height using locking nuts once installed on the head control arm.
Cut
the smooth 6mm rod to 6” which will then be coupled from the motor at the
bottom of the head arm and run through the assembly with gears at the end.
Overview
of Lengths:
- 12mm = 19”
- 8mm= 8"
- 6mm= 6"